Homepage extension development |
iPortal provides a set of visual customization system for you to customize the appearance of the iPortal homepage easily. With which, you can use the various built-in components to build the homepage by drag-and-drop operation. And iPortal also provides a "full-code" deep customization method for you to rewrite the default iPortal homepage when the visual customization system cannot meet your needs.
The deep customization process includes: page content development, configure to enable the customized page.
The core of page content implementation is to develop an HTML corresponding to the homepage. You can choose one of the mainstream front-end development framworks like Vue, React, Angular, or the native JavaScript/JQuery to develop. After finish the development, you need to place the completed project in the directory: %SuperMap iPortal_HOME%\webapps\iportal\resources\web-ui\extend\home. If you're a front-end beginner, iPortal provides a Vue-based homepage customization demonstration project for you to learn and develop.
If you know the front-end development process and have corresponding development experience, you can choose to skip this section.
For inexperienced developers, iPortal provides an open-source homepage customization demonstration project on Gitee to assist development, which implements three different homepages:
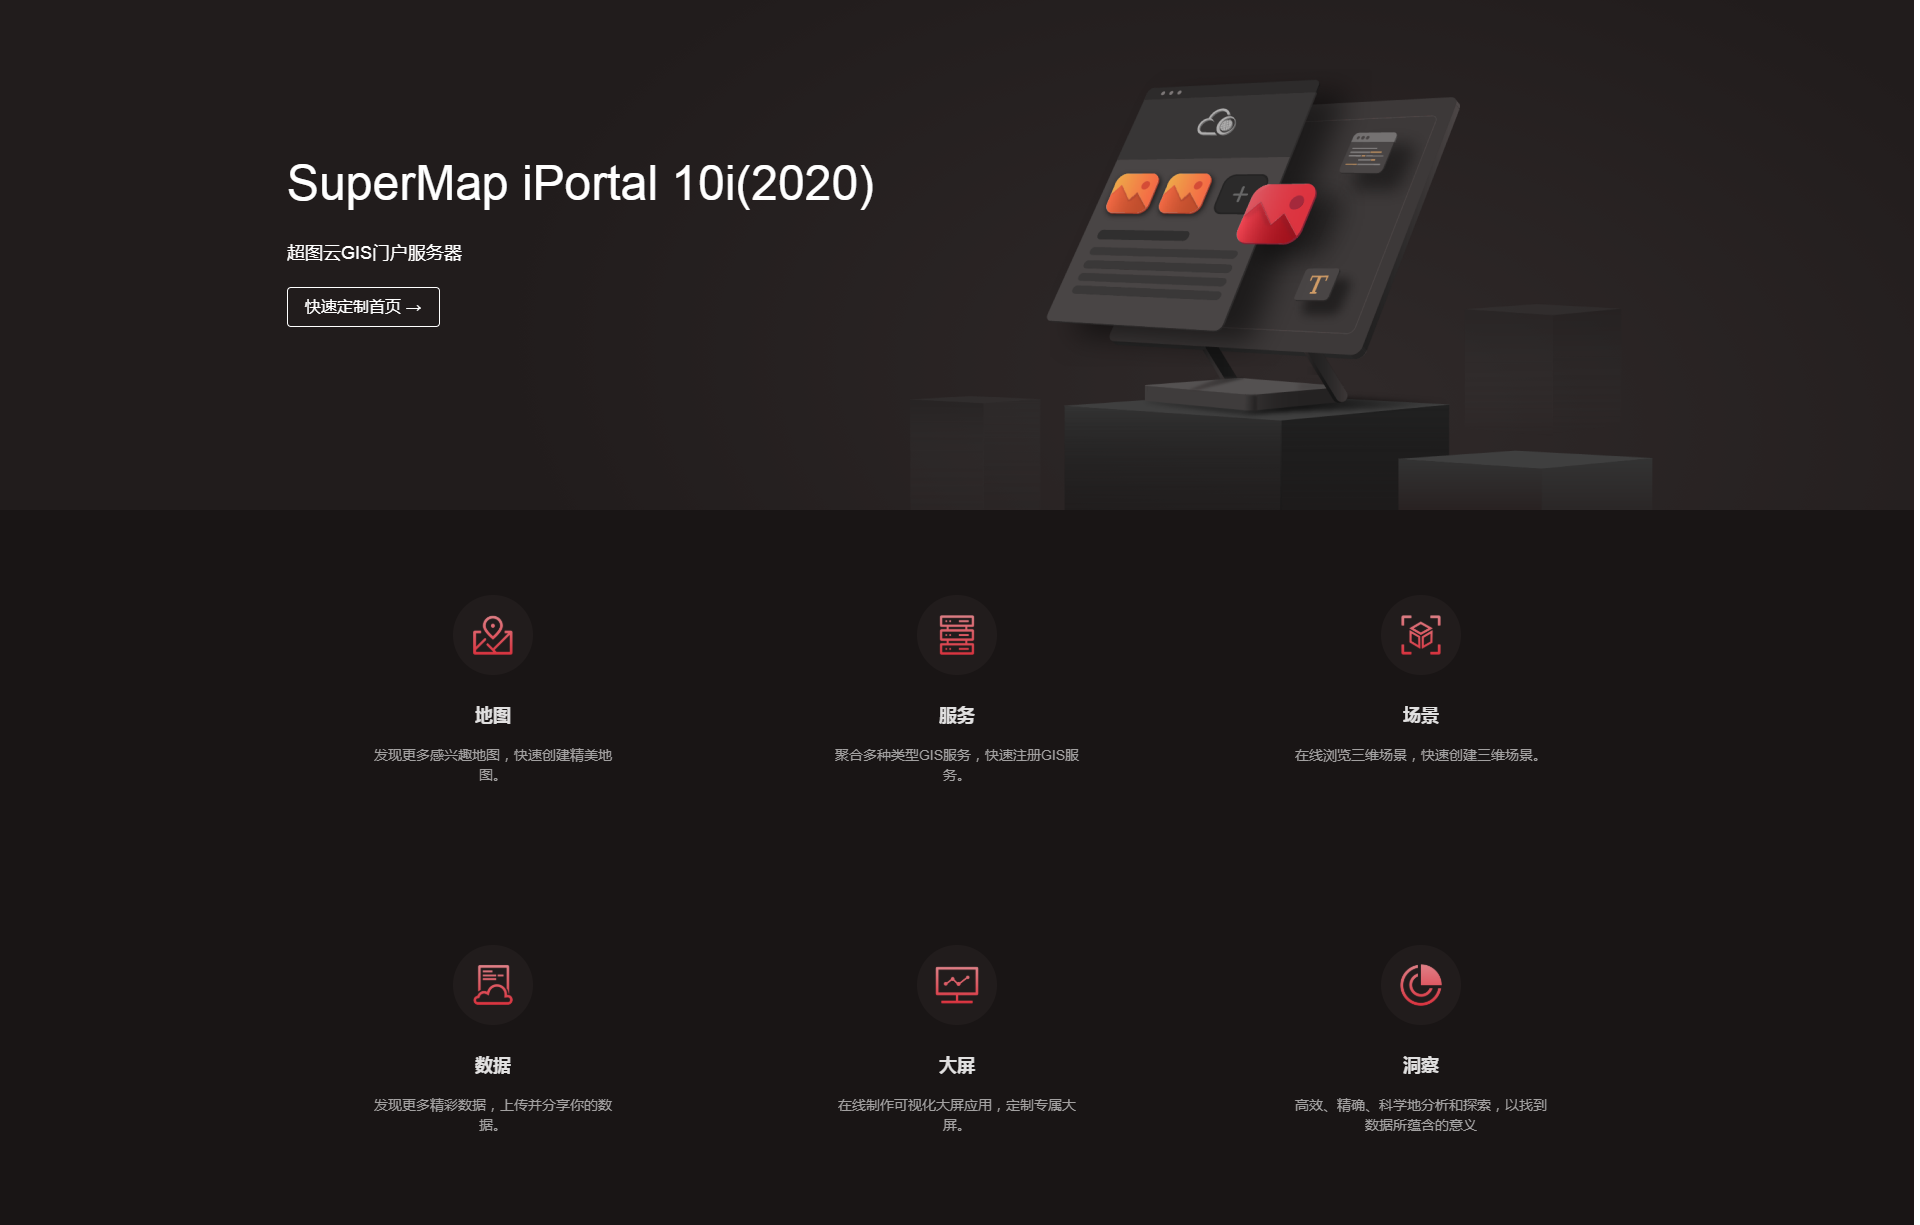
Figure 1 iPortal dark-red-theme homepage
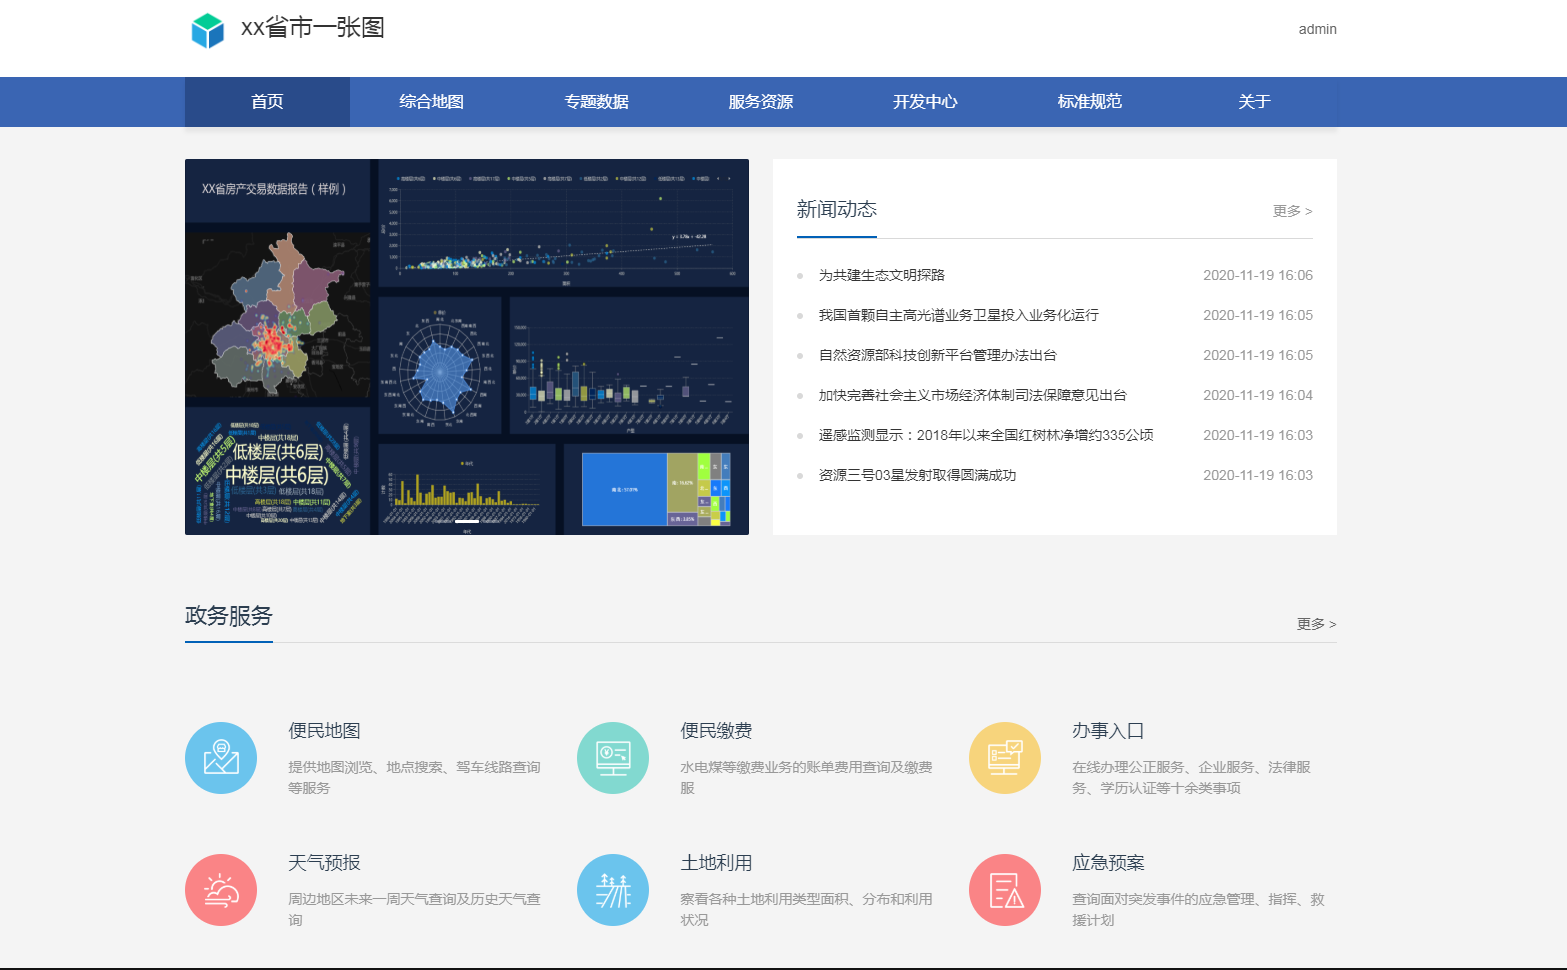
Figure 2 "One Map" Land and Resources Information System homepage
This project uses Vue technology stack for development. So before the development, please learn the basic knowledge of Vue. The section below introduces how to use the demonstration project.
1. Set up the development environment
Install the Node.js environment. Recommended version: 10.X.
2. Fetch the project code
Download the demonstration project code from Gitee to local. The custom-home folder inside the project is the homepage customization demonstration project. The following introduces the directory structure:
The root directory of custom-home:
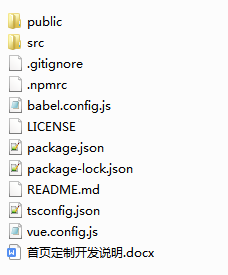
Part of the key files(folders):
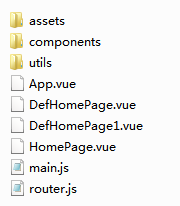
The directory structure of the src directory:
The directory structure of the utils directory:
3. Start the demonstration project
Enter custom-home directory, execute the following command to install the project's dependencies:
npm install
Run the command to start the project:
npm run serve
After the project successfully started, you can visit the homepage from the address: http://<ip>:8080. It defaults to the "One Map" Land and Resources Information System homepage. You can use the path configured in the router.js file to access the other two homepages. For example, to access the iPortal classic homepage, the address is http://<ip>:8080/#/defhome.
4. Custom development
After finishing the above steps, now you can start coding in the Vue.js editor:
import Vue from 'vue'
import VueRouter from 'vue-router'
const DefHomePage = () => import(/* webpackChunkName: "DefHomePage" */ './DefHomePage');
const DefHomePage1 = () => import(/* webpackChunkName: "DefHomePage1" */ './DefHomePage1');
const HomePage = () => import(/* webpackChunkName: "HomePage" */ './HomePage');
Vue.use(VueRouter);
const router = new VueRouter({
mode: 'hash',
routes: [
{
path: '/defhome',
name: 'defHome',
component: DefHomePage,
meta: {
title: 'Homepage'
}
},
{
path: '/defhome1',
name: 'defhome1',
component: DefHomePage1,
meta: {
title: 'Homepage'
}
},
{
path: '/home',
name: 'home',
component: HomePage,
meta: {
title: 'Homepage'
}
},
]
})
export default router;
You can modify the path to change the router address of the three homepages. If you're developing a newly created Vue file, in the router.js you need to import your created Vue file and add the corresponding router in the routes array.
5. Package the project
After finishing coding and debugging, run the command to compile:
npm run build
The generated home-page folder is the packaged file.
When finish the development, follow the steps below to enable using the customized homepage:
1. Place the packaged folder in directory: %SuperMap iPortal_HOME%\webapps\iportal\resources\web-ui\extend\home
Note: iPortal has already placed the packaged result into the path: %SuperMap iPortal_HOME%\webapps\iportal\resources\web-ui\extend\home\home-page for your trial, you can replace it with your own developed project.
2. Modify the extension development configuration file: %SuperMap iPortal_HOME%\webapps\iportal\resources\web-ui\extend\home\config.json to apply the customized homepage in iPortal. The code of config.js is as follows:
{
"enable": true,
"useDefaultHeader": true,
"homeUrl": "{portalRoot}/resources/web-ui/extend/home/home-page/index.html"
}
After modify and save the configuration file, you can access the customized homepage in iPortal.